In Oracle APEX, a master-detail form allows users to display and edit related data within a single page. This structure is particularly useful for scenarios like orders and order items, departments and employees, or any parent-child relationship. This article explains how to create a master-detail form using Interactive Grids in Oracle APEX, covering both the Create Page Wizard and a custom approach.
Understanding Master-Detail Forms
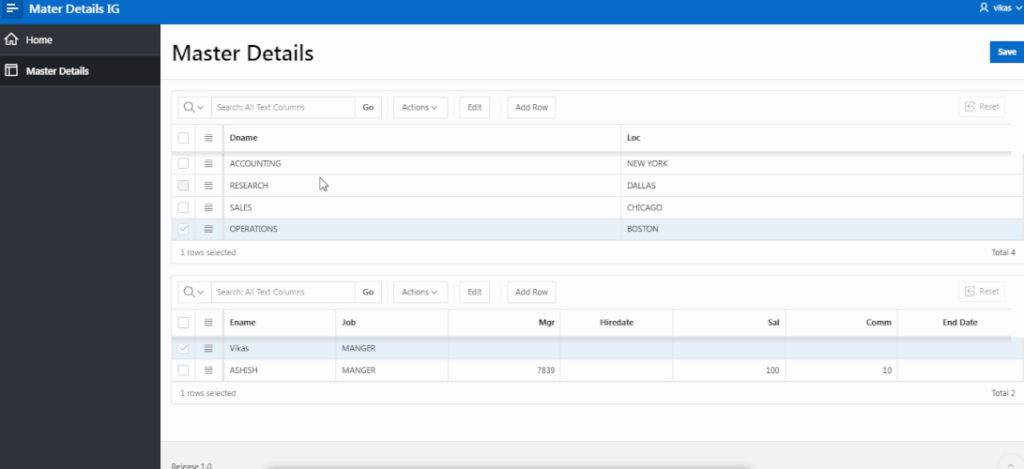
A master-detail form involves a parent (master) grid that shows a collection of records and a child (detail) grid that displays related data for each record in the parent grid. This setup is ideal for maintaining relationships between data and simplifying data entry.
Method 1: Create a Master-Detail Form with the Create Page Wizard
Using the Create Page Wizard in Oracle APEX is a straightforward way to create a master-detail form. Here’s how to do it:
Step 1: Start the Create Page Wizard
- Open Oracle APEX: In the Application Builder, select your application and click “Create.”
- Choose the Page Type: Select “Master-Detail Form.”
Step 2: Configure the Master-Detail Relationship
- Select the Master Table: Choose the table or view for the parent data. For example, “Departments.”
- Select the Detail Table: Choose the table or view for the child data. For example, “Employees.”
- Define the Master-Detail Relationship: Specify the key field(s) that define the relationship between the master and detail tables, usually through a foreign key.
- Select Display Options: Configure Interactive Grid options, such as grid columns, editing, and navigation.
Step 3: Create the Page
- Review the Configuration: Check the layout, settings, and relationships to ensure they meet your requirements.
- Generate the Page: Click “Create” to build the master-detail form.
Method 2: Create a Custom Master-Detail Form
The custom approach to creating a master-detail form offers more flexibility in configuring Interactive Grids and setting up the master-detail relationship.
Step 1: Create the Master Grid
- Create a New Page: Add a new Interactive Grid to your application, using the master table as the data source (e.g., “Departments”).
- Configure Grid Columns: Define the columns to display in the master grid and set primary keys.
- Assign a Static ID: Give the master grid a unique static ID for referencing in dynamic actions or JavaScript.
Step 2: Create the Detail Grid
- Add a Second Interactive Grid: Create a new Interactive Grid for the child data (e.g., “Employees”).
- Configure the Detail Grid: Set the data source to the related table and define the relationship with the master grid. For example, use a SQL query to filter employees by department ID:
SELECT * FROM EMPLOYEES WHERE DEPARTMENT_ID = :P_MASTER_DEPARTMENT_ID- Assign a Static ID: Give the detail grid a unique static ID for referencing.
Step 3: Implement Navigation and Data Synchronization
- Use Dynamic Actions: Create dynamic actions to ensure that when a row is selected in the master grid, the detail grid updates to show the relevant child data. This synchronization can be achieved by updating the key parameter and refreshing the grid.
Conclusion
Creating a master-detail form in Oracle APEX with Interactive Grids can streamline data presentation and data entry by displaying related information on the same page. The Create Page Wizard offers a quick setup, while the custom approach provides greater flexibility. Following the steps outlined in this guide, you can create a robust master-detail form tailored to your application’s requirements. If you encounter issues, ensure the SQL queries are correct, and check for errors in the browser’s developer tools.