How to translate Oracle APEX into Multi-Languages?
In application development, multilanguage translation is always a tedious job to accomplish. But when it comes to APEX is just like a couple of steps. Found Interesting? Let’s see…..
- Language Selector Select all the available languages for the application. apex_lang.emit_language_selector_list; apex_lang package is very useful to identify all the available languages in the application. It holds the above procedure which fetches the language select list.
- Letting Application know &p_lang parameter can be passed in the application URL to define the current language. So in the application URL would append the string “&p_lang=en-gb”, where “en-gb” is the language code.
How to pass the language code to the URL? Passing language code to the application URL is as easy as fetching the language list from the application. If you are using apex_lang.emit_language_selector_list procedure to select the language list then it has the property to pass the language code to the URL by selecting the language.
After language selection URL would be like
http://127.0.0.1:1902/apex/f?p=153:9999:9660454344633:::::&p_lang=en-gb
Steps to translate.
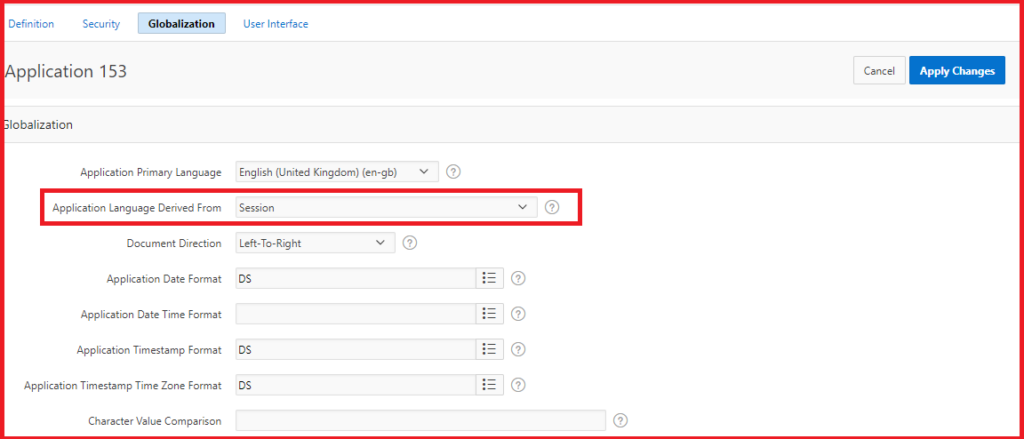
- Select “session” in the language deriving source in application globalization Application Language Derived From “Session”
Define Application language
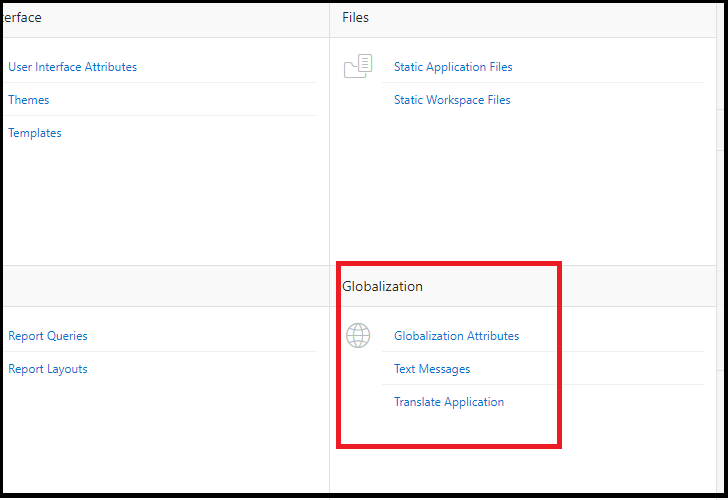
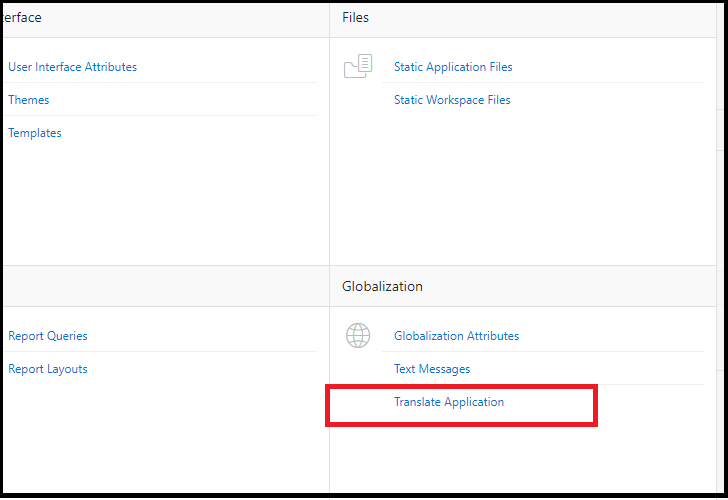
- Go to Application Shared Component
- Globalization
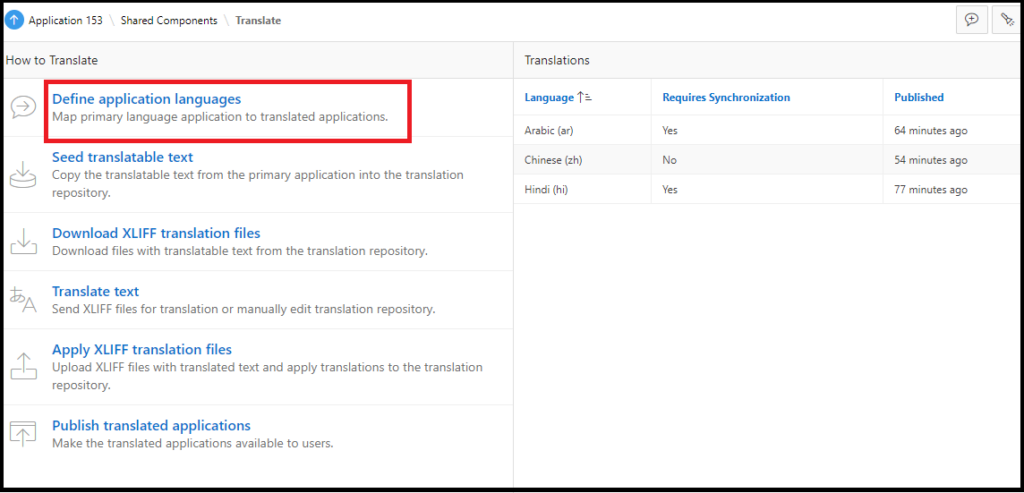
- Translate
- Define Application Languages

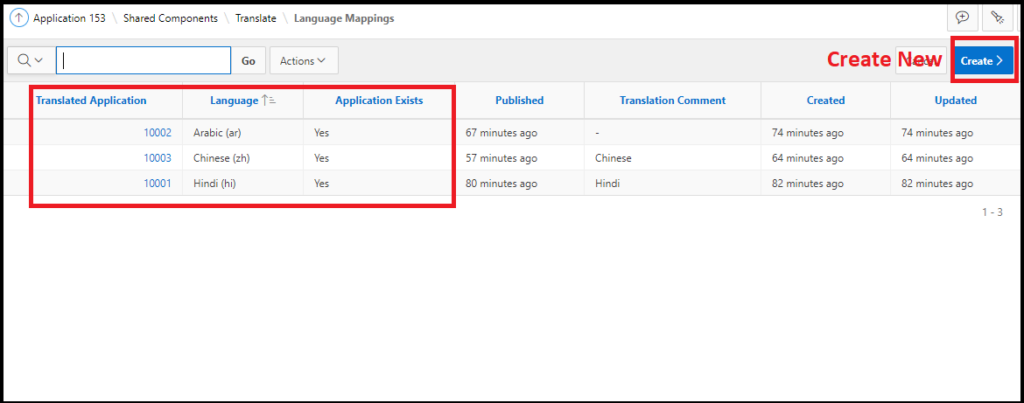
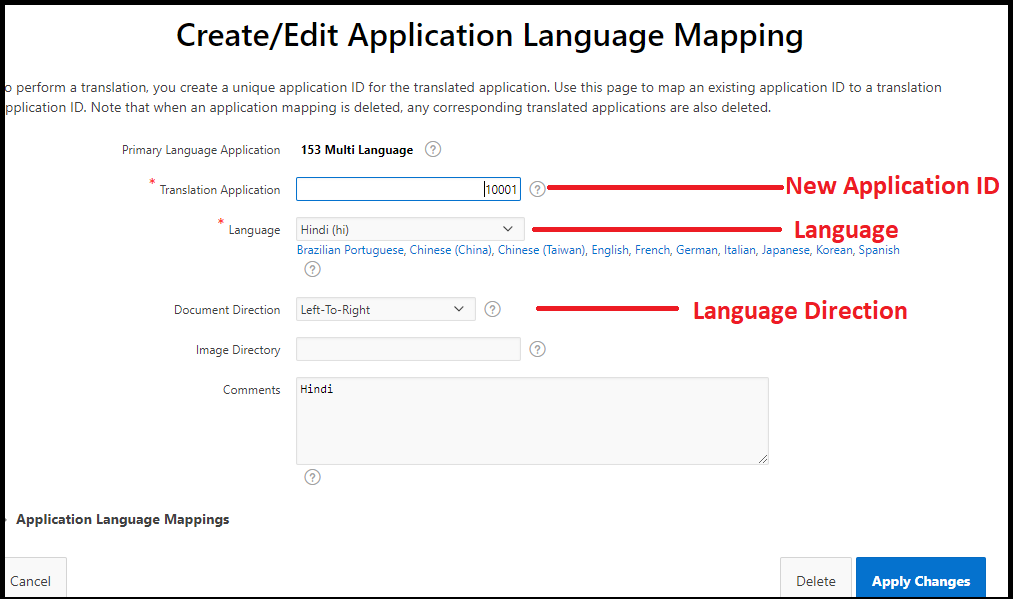
Note: APEX will use this new application id with respect to language selection
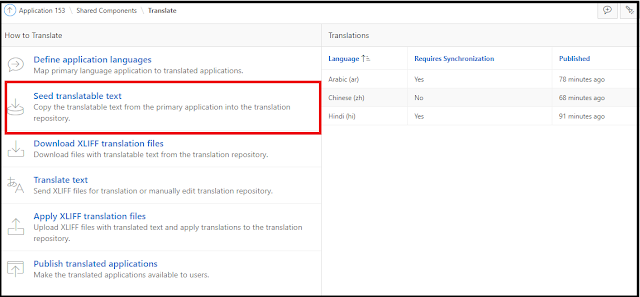
Seed translatable text
- Go to shared components
- Globalization
- Translate
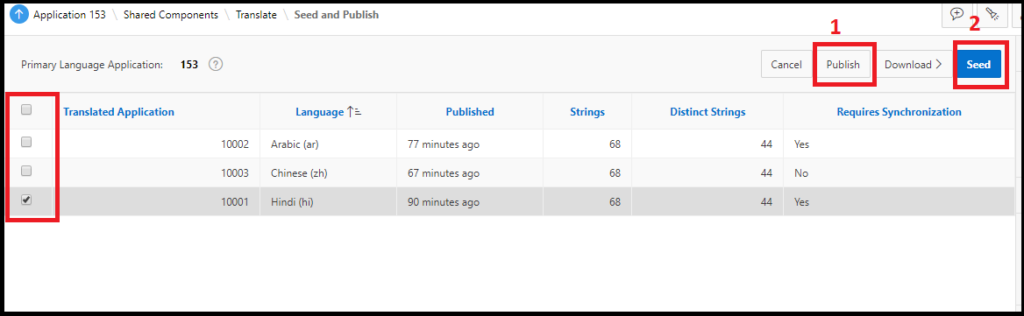
- Seed translatable text
- Select language checkbox
- Click on Publish
- Again Select the language checkbox
- Click on Seed
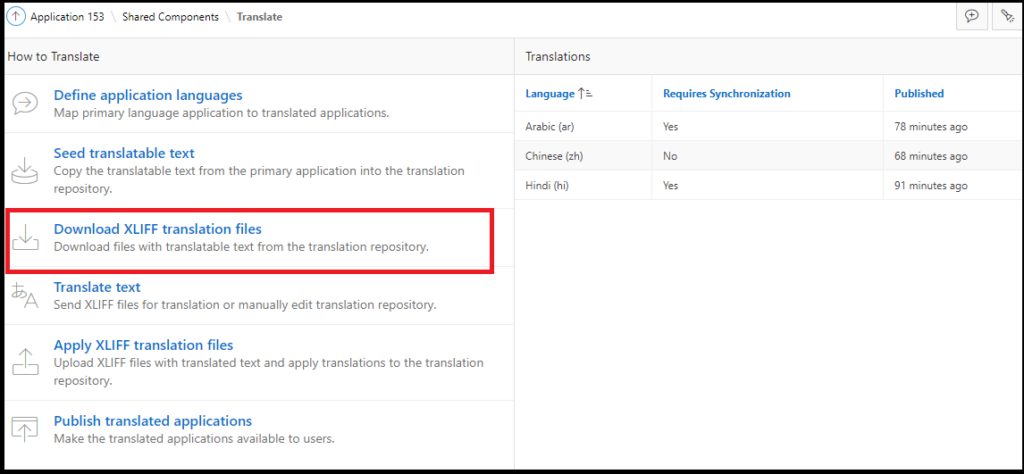
Download XLIFF translation files
- Go to shared components
- Globalization
- Translate
- Download XLIFF translation files
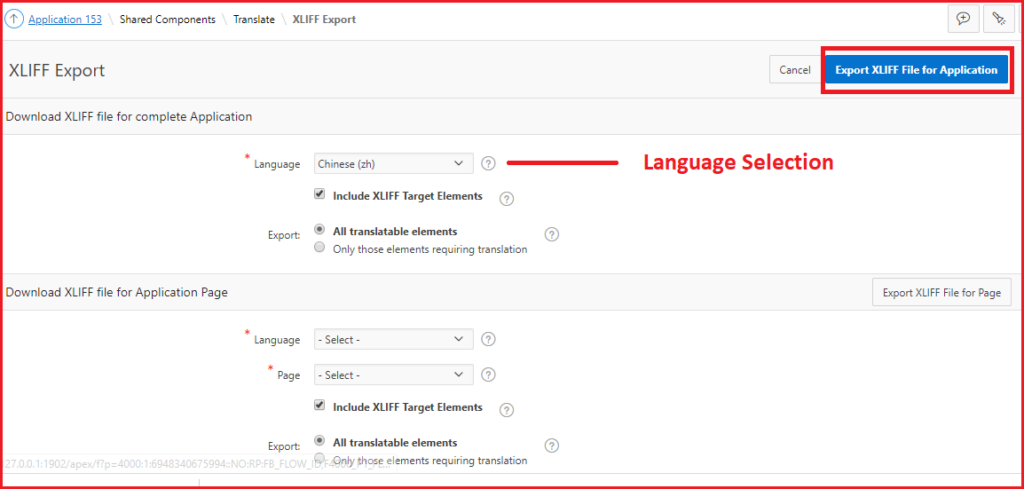
- XLIFF Export
- Selection language
- Include XLIFF Target Elements: yes
- Export: As we wish
- XLIFF Export
- Update XLIFF file target elements
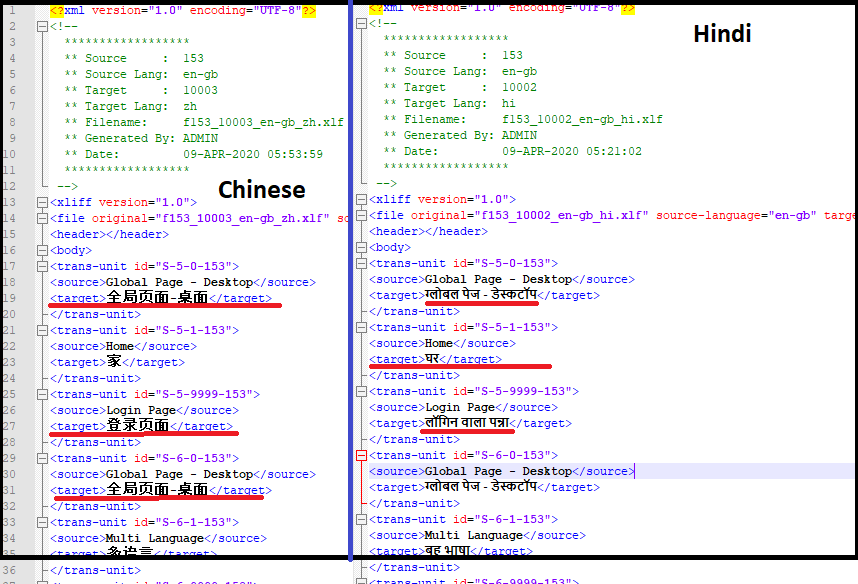
Note: All the strings are taken from Google translator
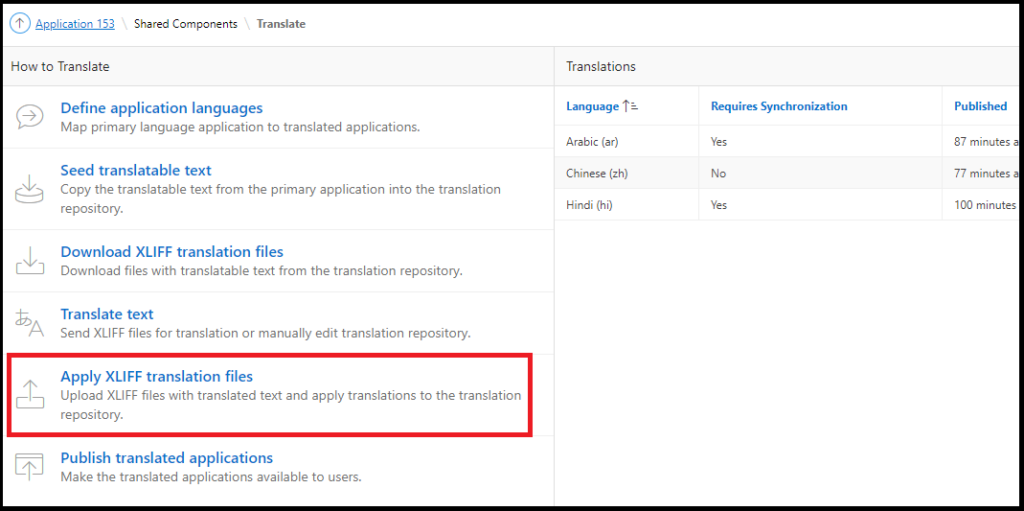
- Apply XLIFF file to the application
- Go to shared components
- Globalization
- Translate
- Apply XLIFF translation files
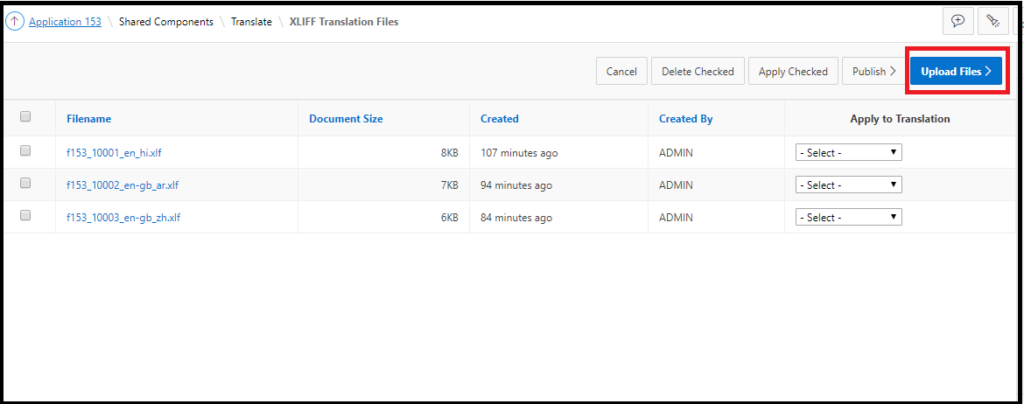
- Click on the Upload files button
- Selection Updated XLIFF file and upload
- Select Uploaded file checkbox
- Map to the application from the column “Apply to Translation”
- Click on Apply Checked.
- Again Select Uploaded file checkbox
- Map to the application from the column “Apply to Translation”
- Click on Publish
- Now you are in the “Seed and Publish” Screen.
- Selection language and click on Publish Button
- Again Selection the language and click on Seed Button.
- All Set. hurray
Download Sample application
- Additional Script
CREATE TABLE text_multi_lang
(
   id     NUMBER,
   text   VARCHAR2 (300)
);

SET DEFINE OFF;
Insert into APEX_19_2.TEXT_MULTI_LANG
   (ID, TEXT)
 Values
   (1, 'लॉगिन वाला पन्ना');
Insert into APEX_19_2.TEXT_MULTI_LANG
   (ID, TEXT)
 Values
   (2, 'पृष्ठ');
Insert into APEX_19_2.TEXT_MULTI_LANG
   (ID, TEXT)
 Values
   (3, 'घर');
COMMIT;
Migrations:
After migrating the application to any environment follow the below steps.
- Go to shared components
- Globalization
- Translate
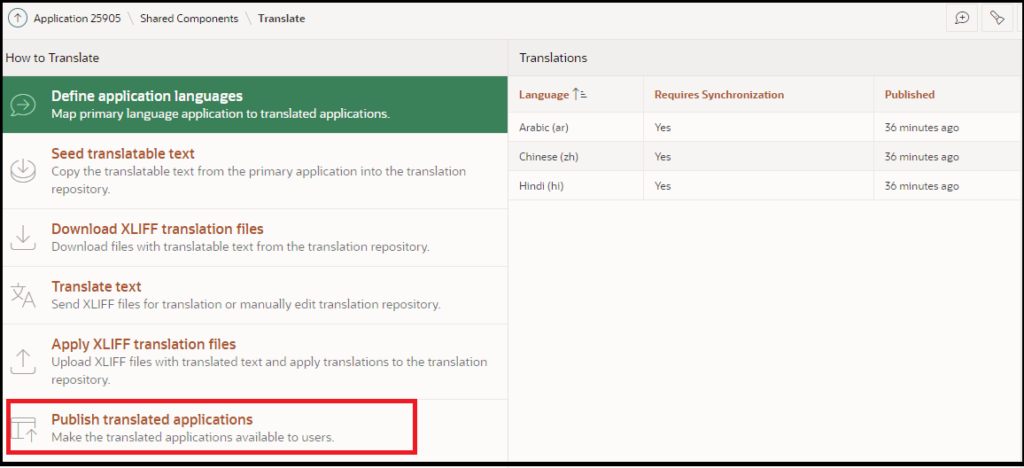
- Publish translated applications
- Select the application to publish
- Click on Publish button
- Again Select application to seed
- Click on Seed button
- All Set.